At some point, every adult over 40 experiences back pain, arthritis or some form of disk injury. When it happened to me, I first sought help from my doctor who told me to focus on mild forms of yoga and Pilates to build up my core. After 2 weeks and no pain relief, I went to a spine specialist who told me that the multifidus muscle (aka muscle that fills up the grooves on either side of the vertebrae) had atrophied. That came as a surprise given that I was an advanced weightlifter. So, I asked him, “What caused it, and how do I prevent it from happening again?” Here’s what he said.
Now, I’m a visual learner, so he showed me 2 MRI pictures. The first scan was from a person who’d been doing Pilates 3-4x times a week for several years but was still having low back pain. You could see there was no disc injury, just fat deposits where the deeper layers of the multifidus muscle should be. If you’ve never heard of the multifidus muscle, it’s a small muscle that runs the length of the spine and is critical for:
Then, he showed me a second scan. There was muscle everywhere along both sides of the spine! Everything that should be hypertrophied was. The doctor explained that the second scan was from a man with a disc injury and that his healthy back was achieved through a rehab protocol that encouraged para-spinal and multifidus hypertrophy. You heard me right... weight training. As my doctor explained it, the specific adaptation the body learns from yoga or Pilates is specific only to those modalities. Whereas, the way to correct muscle atrophy is by producing hypertrophy… or with back problems“phased loading” of the lumbar multifidus muscle.
The Phased Rehabilitation Approach
So, what’s a good back rehabilitation approach? First, it’s always best to consult with a specialist who can develop the exact protocol that addresses your particular back issues. The key is finding someone who is well-versed in both non-surgical and surgical methods AND is an expert at developing a progressive program that helps adults and athletes return to their level of performance before the injury. Tip: If they’re simply giving you a list of exercises without watching how you move, you need to find a different therapist.
Having said that, I’ve been to some good physical therapists and some “not-so-good” ones, and the ones that rise to the top, in my opinion, have a well-crafted template that they follow and can explain to their patients. It’s not just understanding “why” you need do something. You also need to know what signs to look for that indicate your body is healing. One of the best I've found is by VanGelder, Hoogenboom and Vaughn [1]. Granted, while their approach focuses on helping athletes heal from herniated disc issues, I've found their approach carries over to back muscle strains, bruised ligaments...even issues with poor posture. So, I highly recommend you read and print their article. What I like about their approach is their exercise recommendations coincide with the body's inflammation, healing and recovery phases. (Note: recovery from back surgery requires a different protocol. Refer to your physician for guidelines.) Briefly, this includes:
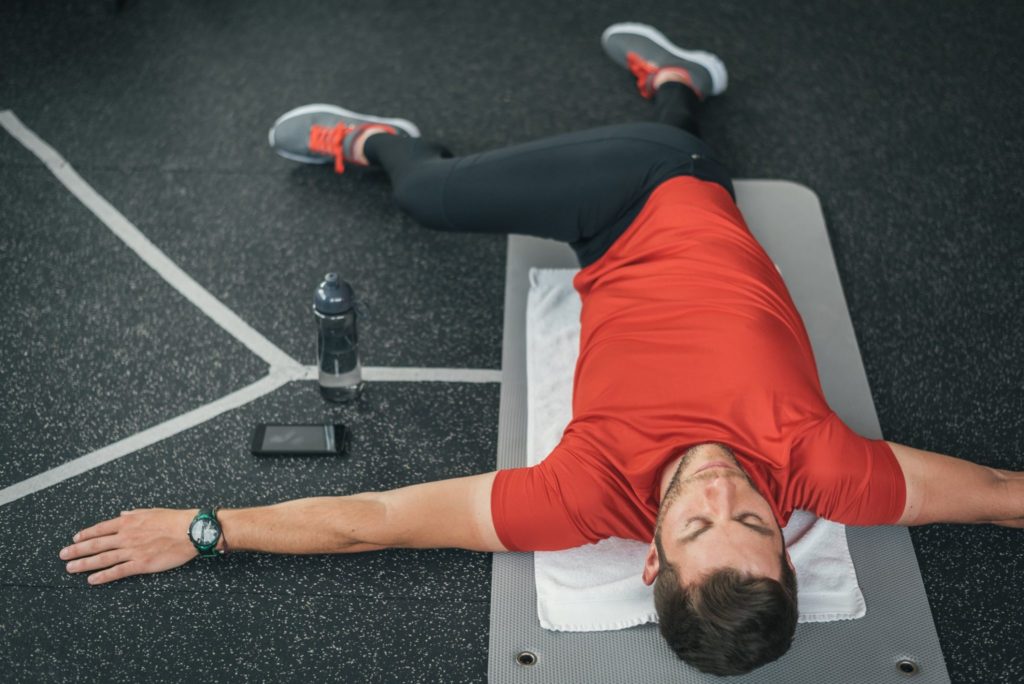
Phase 1: Non-Rotational/Non-Flexion Phase or Acute Inflammatory Phase (Days 0-6)
The focus here is to reduce inflammation and to eliminate mechanical stress on the spine by practicing stabilizing exercises through a full range of motion. While many often feel these are “rest” days, the key is to practice creating a protective posture (aka “optimal” neutral spine for your activity or sport) while improving hip mobility and back extension without pain. Some beneficial exercises during this phase include:
Phase 2: Counter-Rotation/Flexion Phase or Repair Phase (Days 3-20)
The next phase is about gradually introducing compound movements under tension while simultaneously resisting rotation. This includes practicing hip hinging exercises versus flexing the spine and utilizing isometric contractions to resist twisting movements. Examples:
Phase 3: Rotational Phase/Power Development or Remodeling Phase (Days 9 – to Full Resolution)
Phase 3 continues to build hypertrophy...adding more complex movement patterns (twist, floor to ceiling, etc.) and load. Examples:
Phase 4: Full Return to Sport or Activity
Although most doctors will allow some sports-specific skills during phase 3, it’s not until a person can move correctly in all three planes of motion while controlling lumbar lordosis (aka rounding of the back) under load that determines when an individual can be released to play their activity or sport full-time.
So, what’s the takeaway if you have a strained back? Good functional rehabilitation follows the SAID principle (aka Specific Adaptation to Imposed Demand), which means you need to learn to walk and lift/carry loads with weight. The exercises that significantly restored my back were practicing deadlifts, the turkish getup and kettlebell swings early, and then progressing to the kettlebell snatch pull and hang clean at the end. Within a few months, I was not only pain-free, I had significant back stability and strength. Now, all of these exercises are a regular part of my programming to maintain back health. I’m not saying it’s the silver bullet to every back problem, but if you haven’t tried these sorts of weight-bearing exercises, it’s something to explore and talk about with your doctor or therapist.
Anyway, make sure you're taking care of your back…and until next time, seek strength!
1] VanGelder, L.H, Hoogenboom, B.J., and Vaughn, D.W., A Phased Rehabilitation Protocol for Athletes with Lumbar Intervertebral Disc Herniation. International Journal of Sports Rehabilitation Therapy, August, 2013: Volume 8(4): pages 482-516.


Copyright © 2026. All Rights Reserved by Dare2BeStrong.
Web Design by Dig Designs.